Point of Sale (POS)
The POS module lets you process walk-in or counter sales quickly — without going through the full invoice workflow.
POS screen
Go to Retail → POS or click POS in the menu:
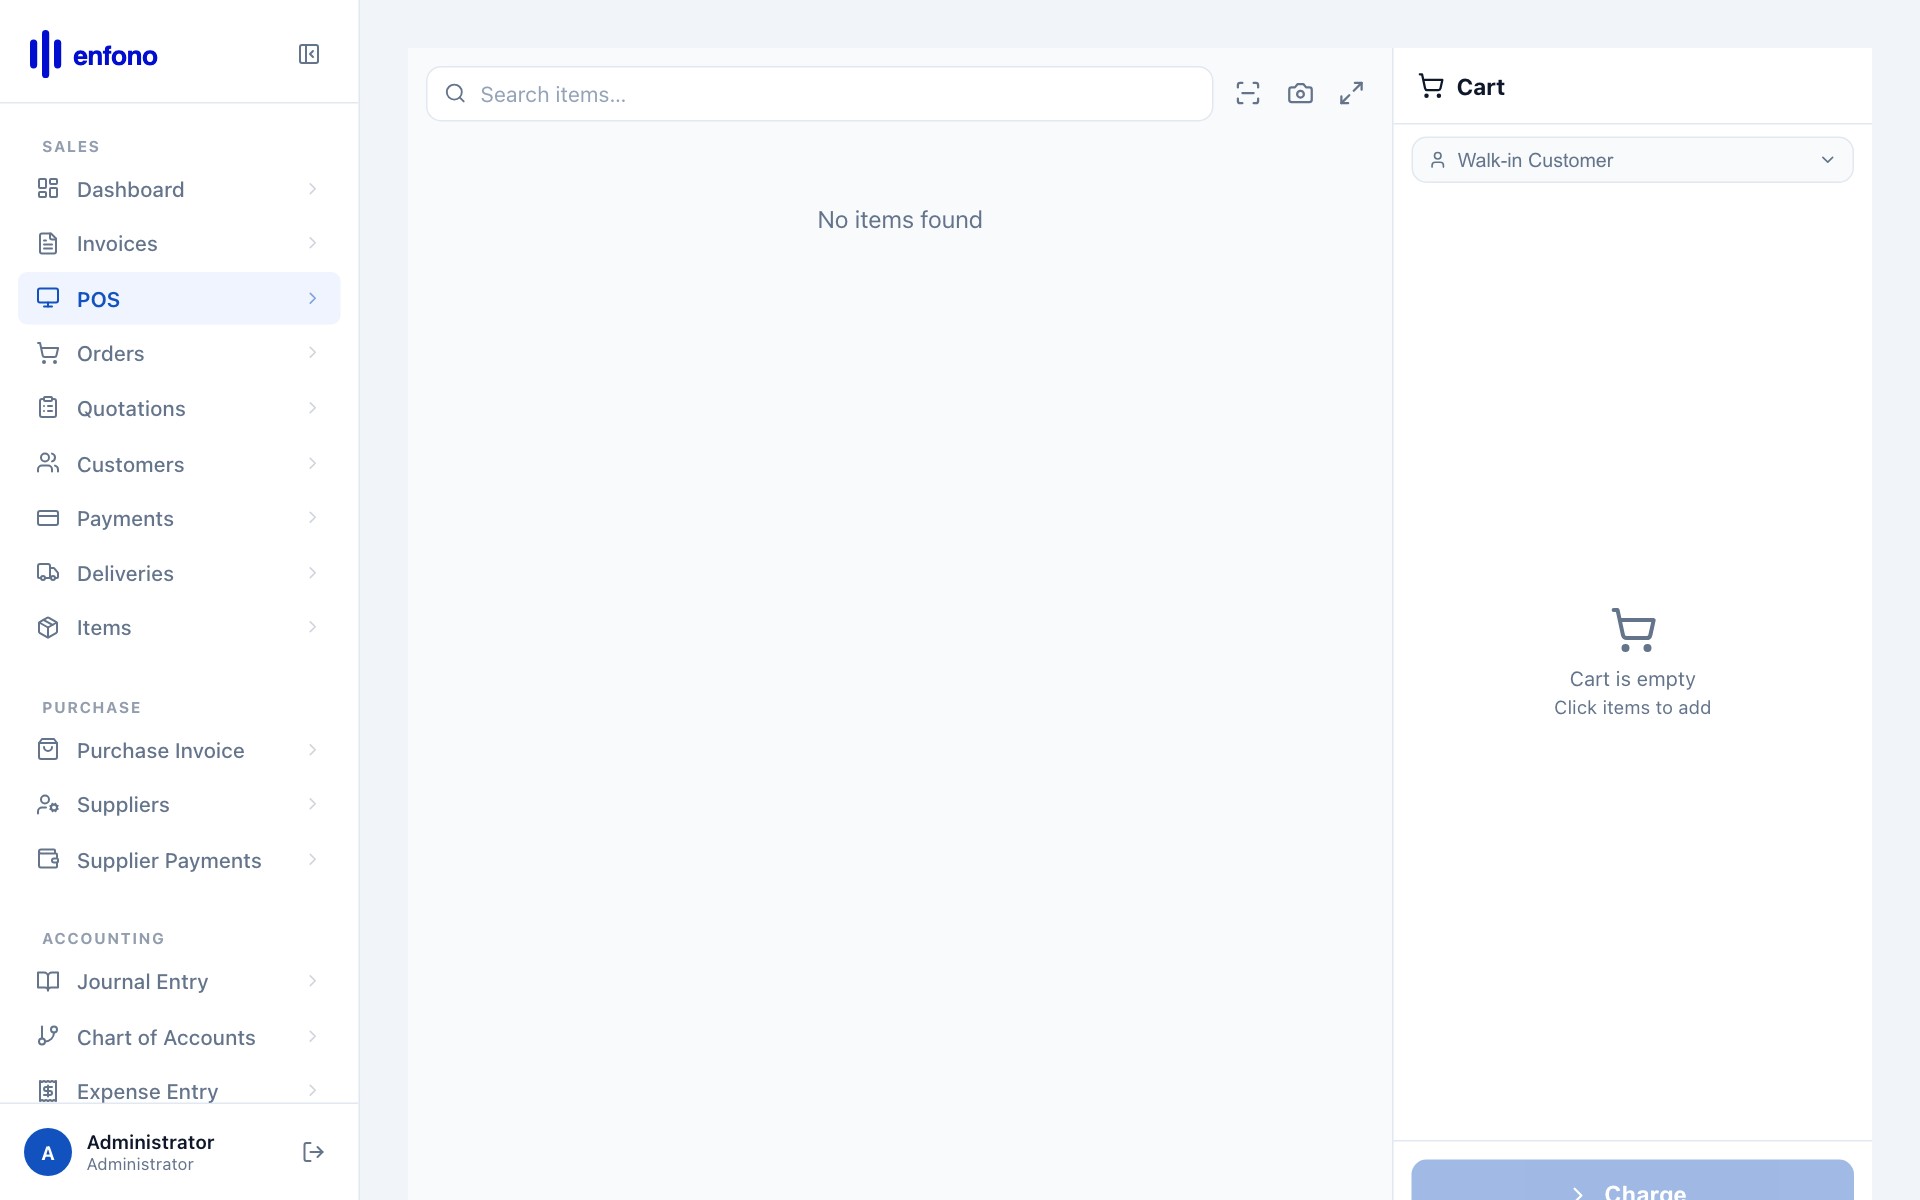
The POS screen is split into two panels:
- Left panel — item catalogue. Click any item to add it to the current sale.
- Right panel — the current transaction with running total and payment options.
Making a sale on POS
Select a customer (optional)
Search and select a customer if this is a registered account sale. For cash sales you can use a generic 'Walk-in Customer'.
Add items
Click items in the catalogue or scan barcodes. Each click adds one unit. Click again or edit the quantity field for more.
Apply discount (if any)
Click on a line item and enter a line discount, or apply a global discount on the total.
Select payment method
Click Pay. Choose Cash, Card, or Multiple for split payments.
Collect payment & print receipt
Enter the amount received. Fateh calculates change. Click Complete to finalise and print the receipt.
Opening & closing a POS session
Before your first sale of the day you must open a POS session:
- Go to POS and click Open New Session
- Enter the opening cash balance in the till
- Click Open — you can now process sales
At the end of the day close the session:
- Click Close Session
- Count your cash and enter the closing balance
- Fateh will show the expected balance vs. actual — any difference is flagged